Monday, September 8, 2014

Cancer Sucks!

These days everyone has been touched by cancer in one way or another.  My husband has had three surgeries for Basal Cell Carcinoma.  A brother-in-law had Testicular Cancer. And now a sister-in-law is starting her chemo journey.  She had already undergone a double mastectomy.  She has already had one session of chemo and many more in her future.

One day I was talking to me niece and asked if she thought her mom would like a breast cancer quilt.  I showed her the fabric from Riley Blake - Think Pink, that I already had for a different project but never got around to make it.  My niece said, "Oh, I think she would love one."

So I got started looking around for patterns and ideas.  My niece like the Bra idea from the Riley Blake pattern.  I decided to use that as the center and found a pattern called Mingle for the surrounding blocks.  Instead of center of the blocks being two colors I went with a single cream color and had family/friends write a note of encouragement on it.

On the back of the quilt I left it for my sister-in-laws immediate family's notes.  As for the quilting, I went to my local quilt shop who rents out their long arm quilting machine.  The lady was nice enough to find me a really nice all over ribbon pantograph to use.  Five hours later, the quilt was all quilted together.  A couple hours of hand stitching the binding and Viola a stunning quilt.  (I do have to say so myself).


When we gave Linda her quilt we also told her a bunch (15 to be exact) will be walking in the Making Strides for Breast Cancer in her honor.  We hope to see your smiling face at the walk Linda!

Linda, remember you are an amazing person and we all love you

Tuesday, July 22, 2014

Home Decor using Vinyl

Good Morning.  I am so excited about this post.  I like shopping at yard sales and thrift stores for "old" items.  One day my neighbor was having a yard sale and I spotted this old metal milk can.  I decided to go over and take a look at it.  It definitely was not my taste in decor (you will see in a second) but I knew I could spruce it up a bit.  I bought it for $20 and started to ponder what I could do with it.

My idea, a vinyl monogram.  I have used Expressions Vinyl in the past for various craft projects and decided to make a monogram for the milk can. After much scrapping (many layers of paint on the can), repainted it in black and sealed it with a semi-glossy.  Then I used my Cricut Expression to create the monogram and to cut it out.  I am very happy with the look of the "new" milk can.


Oh, this project has made me want to craft with the vinyl even more. The possibilities are endless.  Thank you for letting me share my project with you.


Thursday, February 6, 2014

Chain Link Quilt

My youngest son wanted to give his bedroom a makeover.  He started to take down the shelves and fill/sand the holes.  He needed my husband's help for something, I can not believe I can't remember what it was.  Next thing I know they are heading to the hardware store for paint.  What the What???  My husband said well we may as well paint since the walls are bare.  Okay...

The following weekend we were heading down to IKEA.  After spending a small fortune there, the room is back together.

Next thing I know my son says, could you make me a quilt to match my room. How can I say no, especially since I made the older son one.

Nick and I looked all over the internet and found a design he liked, but at first I could not find a pattern for it. So I decided to sketch it out.  After sketching it out, I dug around the internet and found a pattern/instructions.

This is the pattern and color scheme my son wants.  The red and black chain link will be on a white background trimmed with black binding.


I am hoping to get started on this quilt in the next week.

Quilt design wall

As I scour the internet for quilt ideas, I have seen so many quilter with a design wall.  I knew I had to make one.  I was currently working with rope strung across my drop ceiling as a clothesline and binder clips holding the quilt up.

I decided not to wait for my husband to help me on this project.  I went above our garage and found two pieces of insulation board.  I covered it with two layers of felt.  (I just duct taped it to the back).

When my husband got home I had him attach it to the wall.  The photo below is before my husband hung it on the wall.


Nautical Quilt

This year I didn't make any resolutions.  I fail horribly at them.

so I just decided to do things that make me happy and that I enjoy.  Currently, I am working on my nautical beach quilt.  Last summer a group of us went on a cruise to Bermuda and I made a nautical tote bag for each cabin and filled it with a box of sunshine.  Believe me we needed the sunshine, it rained all but 2 or 3 days of the cruise.

Anyway, with the extra fabric I bought I decided to make a quilt to take to the beach.  I decided to give a pinwheel quilt a whirl.  It has been slow going on the quilt.  You see the computer is in my craftroom/sewing room and when my youngest son needs to work on homework I am practically kicked out. Or I remove myself from the room due to his choice of music.

This past weekend I decided to get moving on the quilt.  I have two more waiting to be cut and I refuse to work on those when this one is still in pieces.

My layout.  I have just about all the columns made.  Then I will need to sew them all together and contemplate a border and backing.


Hopefully you will check back soon and it will be done.

Monday, September 23, 2013

WIPs

I am feeling like I am actually accomplishing things these days.  I have two of my WIPs (Work In Progress) completed.

I now have the butterfly quilt to complete, which I have on my quilting island right now.

The other WIP is the Applecore Quilt.  I am not sure that one will ever get finished, but I would like to tackle it again at some point.

I am sure there will always be atleast one or two WIPs on my table...

Masculine Quilt Done!

Back in April of this year I finished sewing together the top center layer of my oldest son's quilt.  Next thing I know six months has past since the last time I touched it.  I had to finish the quilt for two reasons, I started & finished the baby quilt before finishing his.  And, we always tell our boys if you started something you have to finish it.  Well I took a little of my own medicine lately.  Just the thought of not doing what I tell my kids was a little depressing.

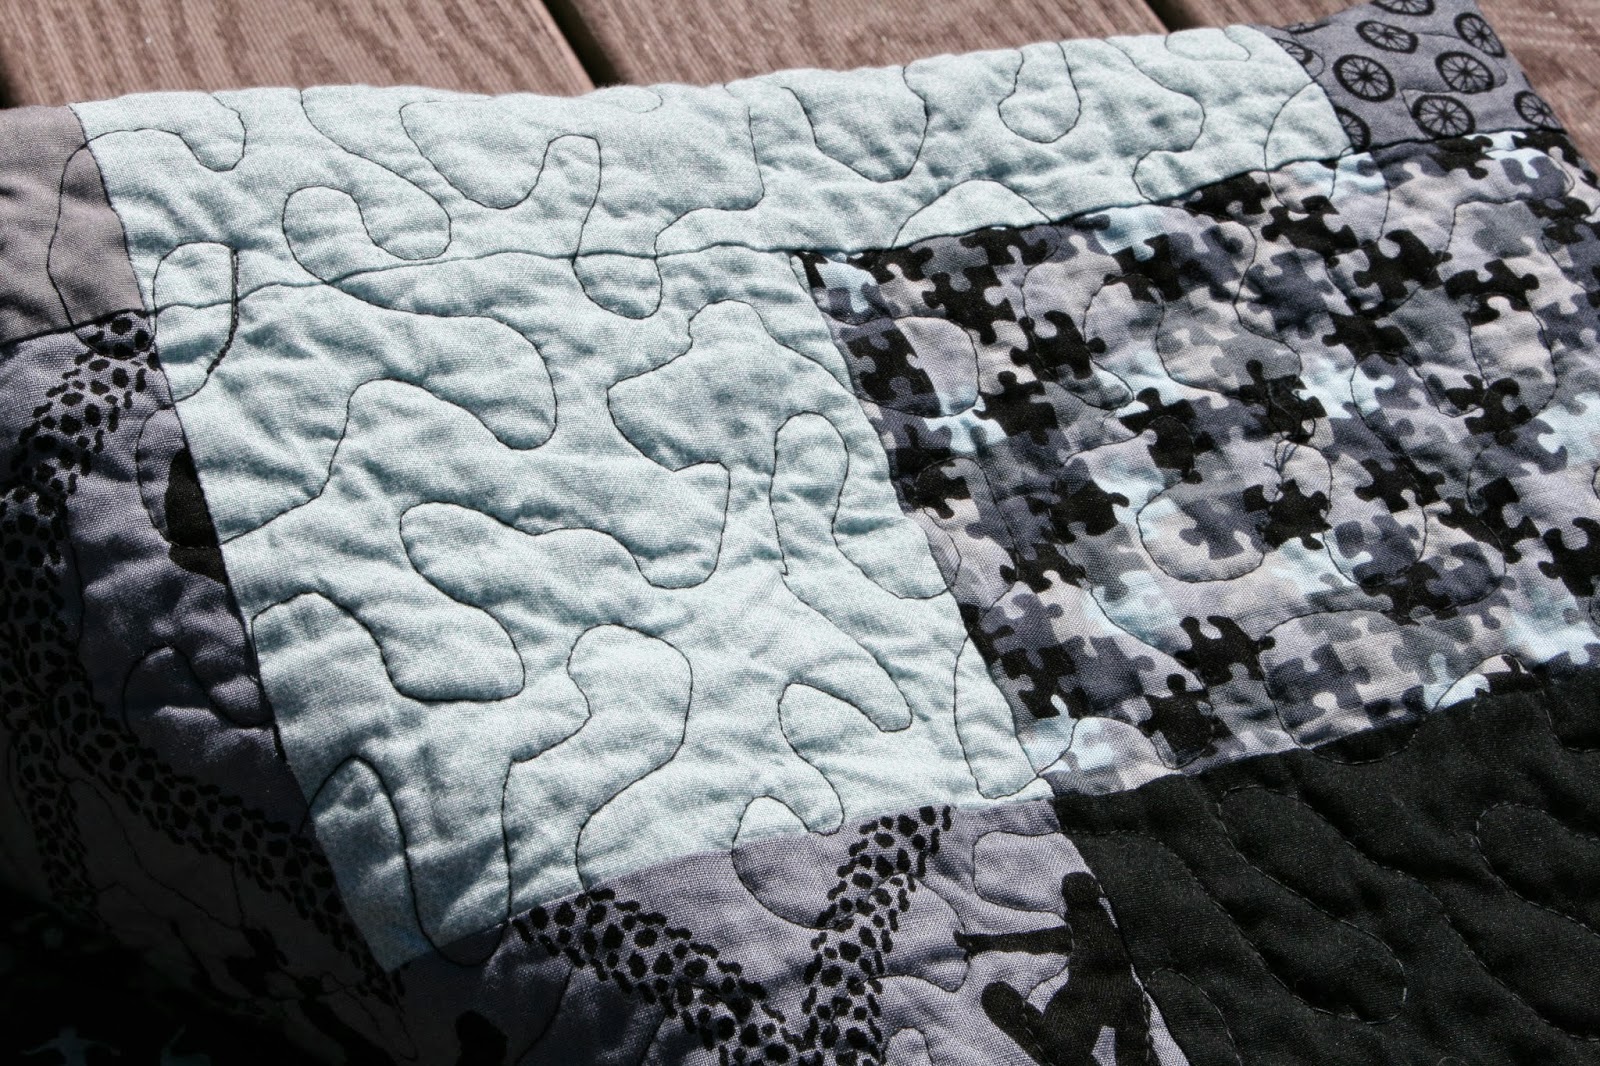
I started by sewing the sides and top/bottoms to the crossword puzzle of a  quilt top.  Next I moved all of the furniture around in the sunroom,just so I could lay out the layers and pin it together.  Thank goodness everyone was either at school or work.  Once I pinned it all together, rolled it around a fabric bolt that I happened to have in my craftroom.  I sat the bolt on my sewing counter for a week. I couldn't decide how I wanted to quilt the layers.  I decided just to do free motion stippling.

My son was so funny, while I was stippling the quilt he would pop his head in and ask if it was done.  (he was heading to bed and wanted to use it).  Of course I gave him the eye roll and said it will be a couple more days.  I worked on it for about 3 hours that night and got up the next morning (Sunday) to get working on it. Well after about 4 more hours I was done with stippling it.


I am not sure if I am the only who hates binding.  I debated over and over which way to do it.  One, the correct way or Two, the cheater way.  Well today I chose to try the cheater way.  Guess what, I was so much easier than the real way.  I might have to do it on the next quilt, we shall see.

I wanted to get the quilt done before my son got home from school.  So I washed and dried it. Took some pictures of it and then laid it on his bed.


I think he likes it, but you really don't know with boys and teenagers, right???


Sunday, September 22, 2013

G is for Green Baby Quilt

My husband's oldest niece asked if I would make a quilt for baby #4.  She is expecting another little boy.

She found the cutest fabric.  It is G is for Green by Patti Reed Designs.  I love the block print fabric.  I ended up buying some of the block, the turquoise background fabric and green background fabric from Fabric.com.  I was pleasantly surprised when I received my order within a week.  In the meantime, I had stopped in Walmart for a couple of items and ended up in the fabric department.  Low and behold what did I see on the shelf, I saw the green and turquoise background fabric.  Well good to know if I need more fabric.

Anyway, I bombarded her with several quilt ideas.  She decided she liked the look of this one by Thirty Handmade Days.  I thought the directions were easy enough.

Well after two days of cutting and sewing I finished the quilt.  I really like how it came out.


Now, that I have the sewing fever I will get back to work on my WIP(s).

Saturday, July 20, 2013

Butterfly Quilt WIP

A couple of weeks ago I was browsing around Pinterst looking for quilt ideas.  There was one quilt that stopped me in my tracks.  This butterfly quilt is just beautiful. Now I am not a girly girl nor do I have any girls, but I wanted to make something pretty.

I had some girlie fabric by Art Gallery called Sugar.  Now onto the butterflies.  I checked out my collection of Cricut cartridges.  I found two that I liked from Serenade and Wall Décor and More.

After deciding on the butterflies, I prepped my fabric.  I used Heat & Bond fusible webbing.  Then I ironed the Heat & Bond to the fabric as suggested on the packaging.  Next I placed it on my cutting mat fabric side upward.  I have seen it cut with the paper side of the Heat & Bond facing up.  Both ways have worked for me. 

Once the butterflies were cut, I pinned them to the background fabric (in this case it was a white sheet).  When I had the butterflies placed to my liking I then ironed the butterflies to my white fabric/sheet.  Then came the labor intensive part,  zig-zag stitching onto the background fabric.  It took me a couple of hours to do all of the butterflies (I added more since this picture was taken). 


Next, I will be sandwiching all the layers together.  Hopefully I will have this quilt done in the next few weeks.

Bermuda Tumblers

Wow, it has been a scorcher out there this past week.  The heat and humidity has sucked all the energy out of me, not that I had a lot to begin with. 

Lately, I have been liking the Nautical theme of cards.  My sister-in-law came over last weekend and we made a couple of different cards she found on the internet. 

This weekend I thought I would try to make some Nautical tumblers.  I used my Cricut to cut out all the images.  for the font I used the Lyrical cartridge.  Then I used Life is a Beach for the center shape. 

I have never used a curved "frame" before.  This was simply done by placing a circle on the Cricut Craftroom "mat" and adding the letters around the circle.  Then I deleted the circle and was left with the writing.

All of the vinyl is from Expressions Vinyl.  I used the outdoor vinyl, since it is waterproof.  I have used the Oracal 651 on other tumbler crafts.  They have gone through the dishwasher with no problems.  Just on thing to remember, do not put the cover in the dishwasher, it will ruin the gasket.


I have had a lot of fun making these tumblers.  I can not wait to give them to friends and family.

Thursday, June 20, 2013

Lacrosse Quilt Finished!

Last year I started a lacrosse quilt and finally finished it.  I finished it in time to donate it to the High School Boys Lacrosse fundraiser.

Now that I gave away my lacrosse quilt, I decided to work on another one.  I scoured Pinterest for ideas.  I came across some T-shirt quilt styles. Once I found the layout I liked I got working on drawing my layout.  I did not include one T-shirt (my boys are still wearing their shirts).

I used my Cricut to cut out the helmet, owl head, crossing lacrosse sticks and jersey numbers.  I downloaded Team Spirit for the helmet, owl head and lacrosse sticks.  For the jersey number I downloaded Varsity letter font.  Next, I appliqued them onto the fabric.  Once I finished sewing the top together, I thought about how I wanted to quilt it to the back fabric.

My friend Melissa and I are always talking about quilting or cooking.  One day we were talking about Free Motion Quilting and that is what I decided to do.  I had to order my Free Motion quilting/darning foot for my  machine.  Surprisingly, I received it a couple days after ordering.  Then I did a couple of test runs.  I knew I would need more practice, but what better way to get that practice than quilting the actual quilt.

Okay, so I need more practice.  I know I do.  However, I have very happy with the way this quilt came out.


Here is a close up of the FMQ.


Now I am off to work on some tote bags and a baby rag quilt.

Thanks for stopping by and have a great day!

Friday, April 12, 2013

Masculine Quilt

Why am I such a procrastinator???  My husband has rubbed off on me.  lol  The reason I say this, is my oldest son was in need of a new quilt/comforter for his bedroom for a good year.  Can you believe I ordered his fabric about a year ago.  I found this line Extreme Team by Michael Miller.  The colors go perfect with his room.

Once I had the fabric, I needed to find the "right" quilt pattern.  Back to the internet to search.  Maybe, that is why it took a year to get this quilt done, I had to have the "right" pattern.  Oh geez...  

One day I was browsing Quilt Dad's website.  John is so talented...  As I was browsing I came across this quilt.  I knew it was the one I wanted to make..  I ordered the pattern from Lizzy House.  They were very quick with getting it out to me.  

About two months ago I finally got around to cutting the fabric.  Easy Peasy!!  

So today I felt like I had a downtime moment (before I head back to work at the end of the month and lacrosse season gets into full swing) and made myself come down to my craft room to start working on the quilt top.

It took me about 5 hours to get the top completed.  Oh, wait I had to go make the family some grub so maybe 4.5 hours. I am really excited to finish the top tomorrow.  


Sorry the photo is a little dark.  Hopefully it won't take another year to actually quilt it... 


Lacrosse season

Well, after a year of the lacrosse quilt hanging on the wall, I finally finished it. 

The only reason I finished it was to place it in a raffle.  This year the Lacrosse Boosters held an indoor sports equipment yard sale.  I was getting a little nervous that we weren't going to have any raffle prizes.  So I decided to donate it to the Boosters.  It was hard to let it go.  

The up side of the story, it went to a member of the Boosters and we raised money for the boys Lacrosse Team!


Tuesday, April 2, 2013

Tiki Torch

I have been saving wine bottles for some time now.  My husband looks at the amount and ask what am I going to do with all of them.  Give me time and I will do something with them.

My first project was making tiki torches for the backyard.  I used my Cricut machine to cut out some contact paper.  Once the contact paper was cut I adhered it to the bottles and sprayed them with frosted glass "paint" by Krylon. 


I really like how they came out.  I have made a set for my brother-in-laws house.

Tulle Tutu

I was looking around Pinterst one day and came across homemade tutu's.  I fell in love with them.  At times I wish I had a little girl.  My boys a few years ago outgrew homemade halloween costumes, so I have to find a way to make at least one.  This one is light blue and white.  I was very surprised how easy it was to make this tutu.  My friend Gina stopped by one day and asked for some help with three of them.  We both made one and she went home to finish the last one. 

Apple Core Quilt

I saw a pattern for the Apple Core quilt in one of my quilting magazines last year.  I really like the "different" look of the quilt.

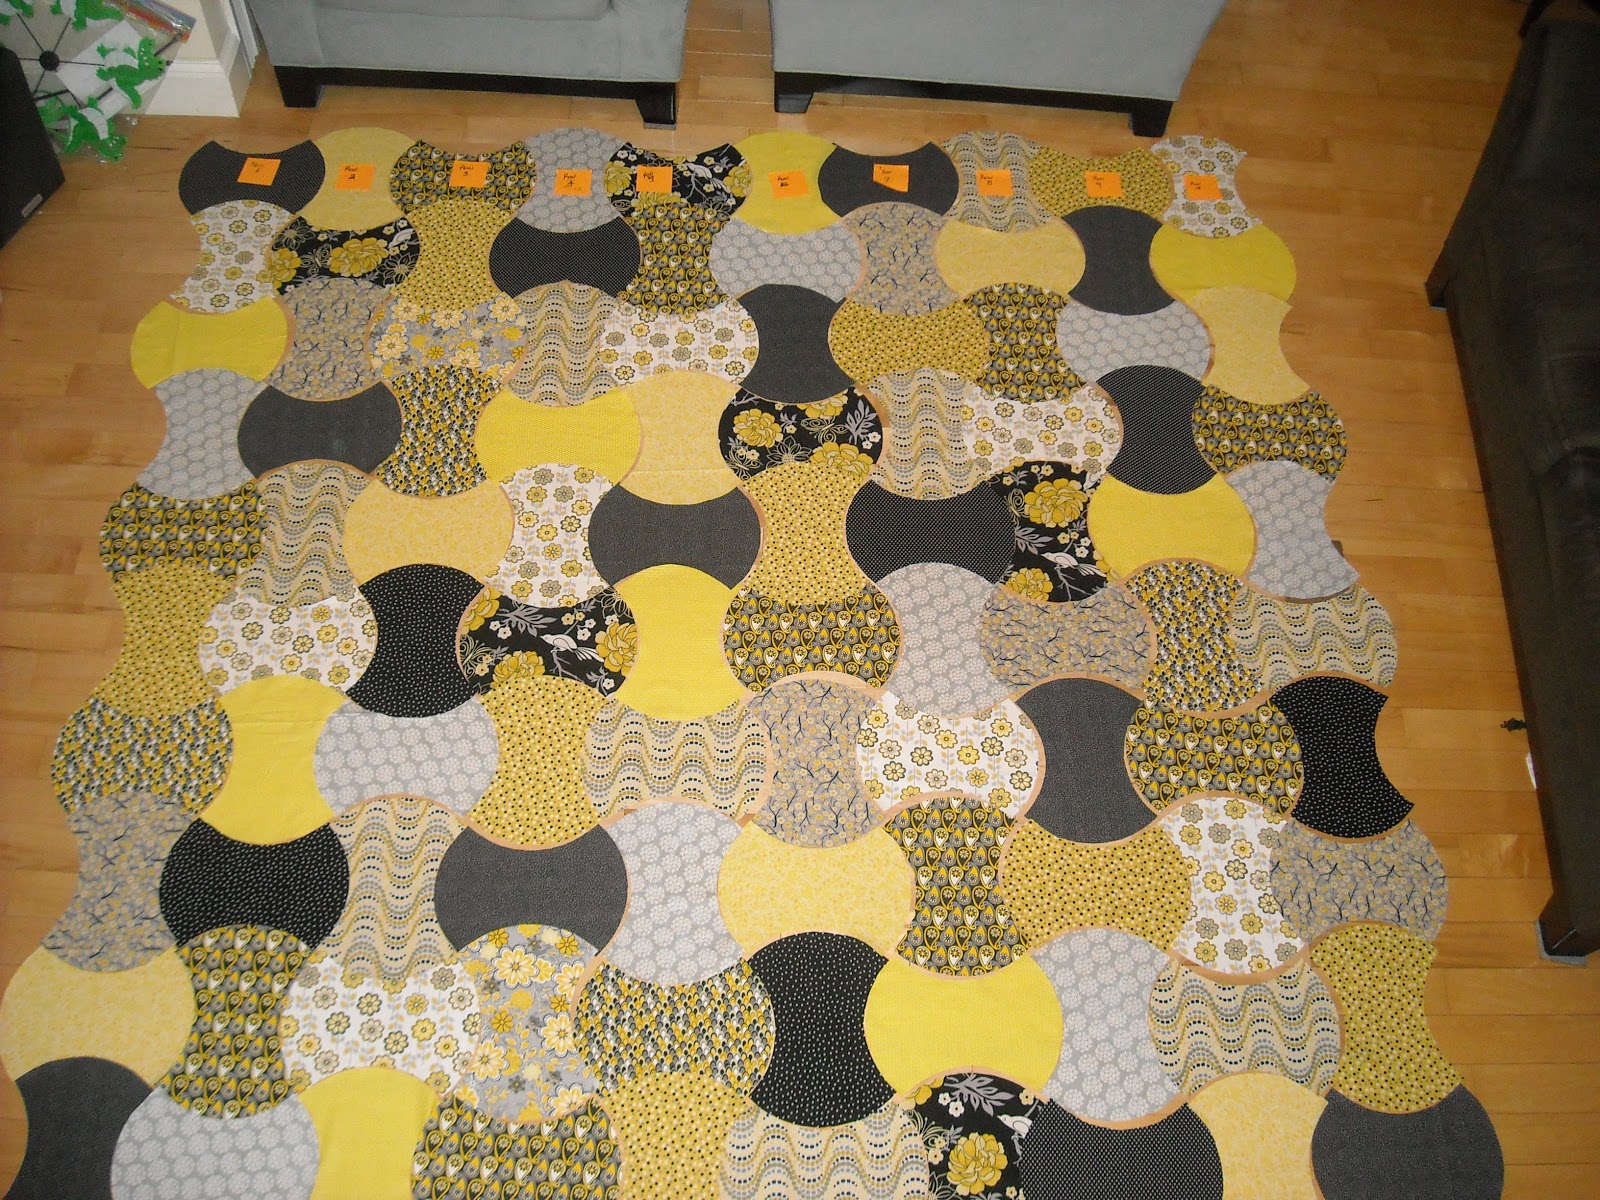
I have been holding onto quite a bit of fabrics lately.  I came across my stash of yellow/black/grey/white fabric.  Love the combo.  I decided this would be the lucky fabric to use.  After several hours of cutting the Apple cores out by hand I got started on sewing them together. 

Sewing two together wasn't a bad thing, but sewing the columns/rows together now that is another story. 

Let's just say I have put this quilt aside and maybe one of these days I will have the nerve to get back to it. 


This is just a layout of how I wanted it to look.
I am really bad at keeping up on my blog.  Shame on me.  I wish I could say something extraordinary has happened but I would be lying if I did.

I have been trying to stay busy, out of trouble and out of the craft stores.  My husband must love me for that.

I will try to post more often with more of my creations.

Friday, May 25, 2012

Revamped Patio Chair and Side Table

Lately, I have been crazy busy with both boys being in lacrosse.  I ended up becoming the High School Lacrosse Booster's President (v.p., treasurer and secretary).  So that has taken up the rest of my free time. 

In between the craziness, I managed to repaint my new (new to me since I bought them at an antique store) patio chairs and make some cushions for them. 

I saw the outdoor material at Walmart.  I love the playful look of it.  I found the foam for the cushions at a local store (not a craft store).  One morning after the the boys went off to work and school I started to mae my pattern for the first set of cushions.  Boy was this a pain in the behind.  But, the look is more "tailored" than the one I took the short cut on.  Although the short cut used less fabric.  Oh well.  I do like the way they came out.


Before
After

Now onto recovering my pool lounge chairs.

Sunday, February 19, 2012

She's Done!!!!

I have finally finished my Red, Black & White quilt.  Last week I took a class on how to quilt using a longarm quilting machine.  Man, was I nervous.  Thankfully a really nice lady helped me for a little while.  When I was "on my own" I got sweety hands and thought how am I going to finished this thing.

Well I managed with little assistance.  As I got closer to the middle of the quilt I was comfortable with the machine. 

Here are a few photos of my completed quilt.  The first one is obviously the front of the quilt. The second one is of the back. 


The third photo is the finished quilt folded.  The fourth photo is a shot of the back.  The last photo shows the Daisy pantograph design I used to quilt the entire quilt.  I used black and white varigated thread. 

I have to say I really love the way my quilt came out.   

Friday, January 20, 2012

Peppermint Tini floral arrangement

I love having flowers in the house, especially for the holidays.  This year for New Year's I wanted to make something really different.  While I was looking for ideas for my Mother-In-Law's arrangement I stumbled upon a "martini" themed arrangement.  That surely was up my alley. 

I had a bugger of a time looking for an extra large martini glass, without driving all over the state to find one.  I saw these large sangria glasses at Micheal's and figured this was my only option.  I bought two.  After that hurdle was accomplished I ran into another one, finding the flowers I wanted.  No one had plain white flowers at all, without breaking the bank account.  You see I was inspired by this arrangement. 
1-800-Flowers® Cheers to the New Year™


Well good thing I had a print out of other arrangement ideas. 

What I ended up making was a Peppermint Tini arrangement. 


I will say this arrangement was not an easy one.